How to Choose the Best Hair Clippers for At-Home Use
Motor Type, Battery Life, and Blade Quality: What Actually Impacts Performance
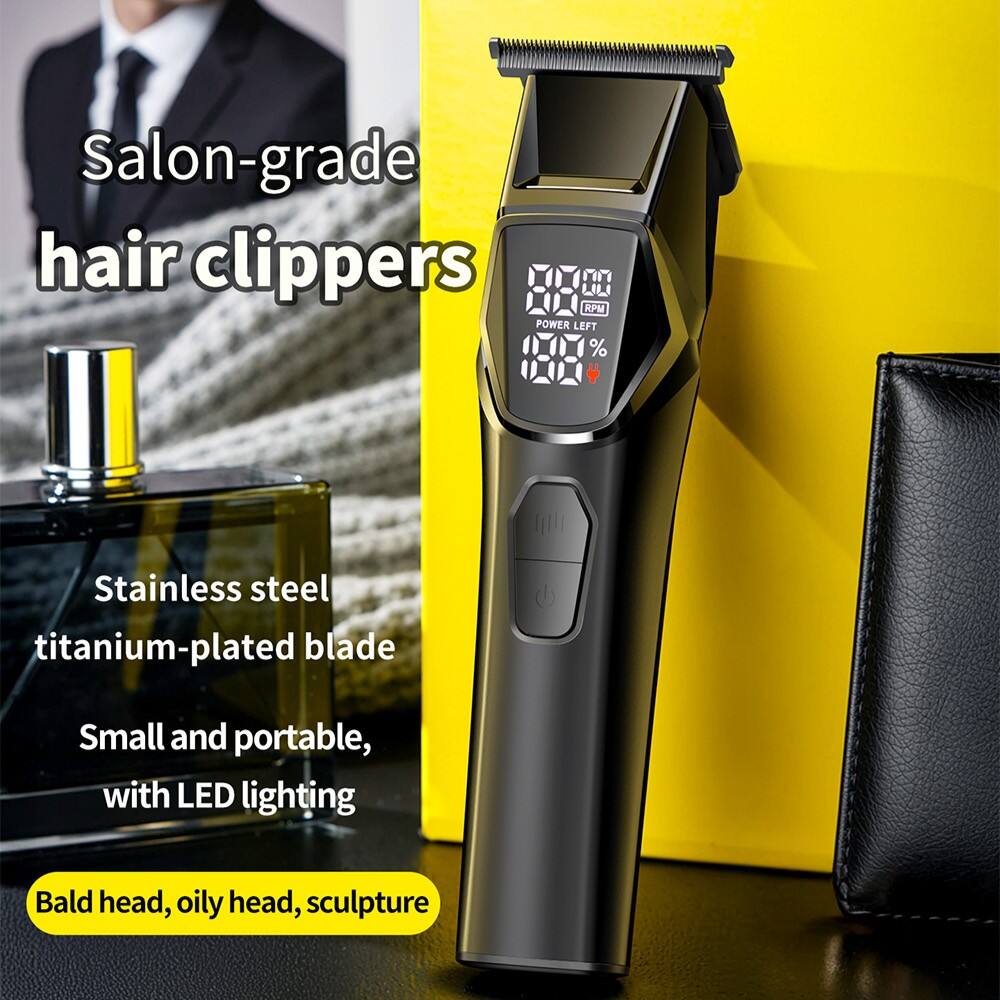
When shopping for clippers, look for those equipped with rotary or pivot motor technology. These motors maintain steady power even through tough hair types, something standard magnetic motors just can't handle when faced with thicker strands. Most modern clippers now come with lithium ion batteries that last well over two hours on a single charge, so there's no need to worry about running out halfway through a haircut session. The blade material makes a big difference too. Carbon steel blades stay sharp much longer compared to regular stainless steel options, which means cleaner cuts and less pulling on the hair. Independent tests have shown these blades keep their edge three times longer. Some high end models feature ceramic coatings on the blades that help resist buildup from styling gels and protect against rust from sweat or water exposure. For anyone doing multiple styles in one day, having a clipper with quick release blade adjustments saves tons of time between different sections, particularly helpful when working on fades or layered looks where frequent blade changes are necessary.
Corded vs. Cordless Hair Clippers: Power, Runtime, and Precision Compared
Corded clippers give basically endless runtime and maintain strong torque throughout, making them great for thick or curly hair types. The downside? They tie users down near electrical outlets which can be frustrating during longer sessions. Cordless options definitely win when it comes to moving around freely, but battery life matters a lot here. Most 50 minute batteries work fine for quick touch ups, though anyone doing fades or layering will need something lasting at least 90 minutes straight. Back in the day, corded models had the edge on torque strength, but recent advances mean brushless motors in cordless units now come pretty close to matching that power according to tests run by IEC last year. When picking between these options, think about frequency of use weekly upkeep versus monthly complete hairstyles and decide if being untethered is worth giving up just a bit of maximum cutting power.
Understanding Guard Lengths and the Taper Lever for Consistent Results
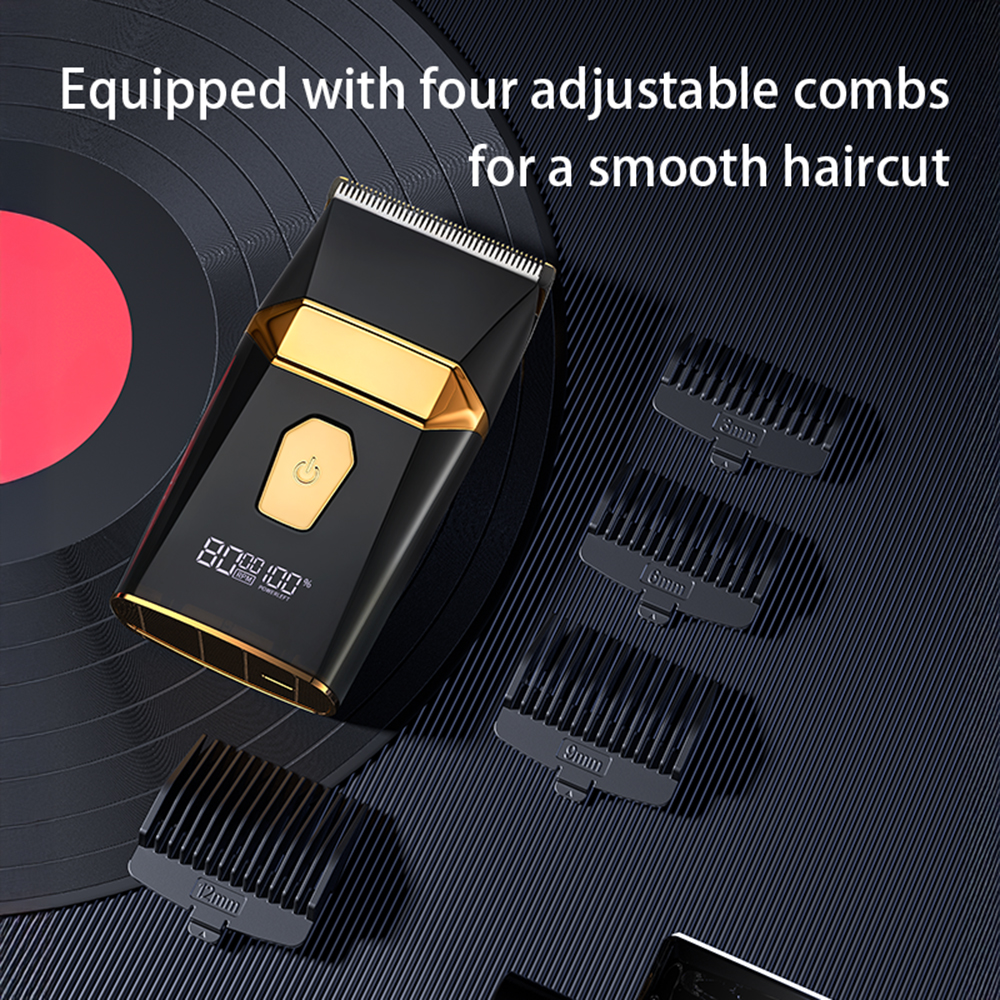
Guard Number to Millimeter Conversion—And Why Brand Standards Vary
The numbers on hair clippers don't really tell the whole story when it comes to how much hair gets cut off. There just isn't any standard system across the board. Most folks know that a #1 guard usually leaves about 3.2mm or roughly 1/8 inch, while a #4 will take down around 12.7mm which is half an inch. But watch out because things get confusing fast. Some companies might call a 2.4mm guard #0.5, while others stick with plain old #0. Different regions have their own ideas about what these numbers mean too. Take a big name brand for instance their #2 guard actually cuts at 6mm rather than the standard 6.4mm according to Pomemon's research back in 2023. These little inconsistencies can really mess up fades and layered looks if not accounted for properly. Before starting any haircut, always check the specific chart that came with your particular clipper model. What one company calls a #3 could be someone else's #2.5 in terms of actual cutting length.
Style-Specific Guard Pairings: Buzz Cut (1–3), Crew Cut (4–6), and Faded Sides (0–2 + Taper)
Getting precise results begins with picking the right guards for the job. When doing buzz cuts, go with guards from #1 to #3 (around 3.2 to 9.5mm) throughout the head. Keeping everything the same length helps maintain the texture while covering up any small irregularities. Crew cuts need some contrast though. Most barbers will put #4 to #6 (about 12.7 to 19mm) on top and switch down to #1 or #2 (roughly 3.2 to 6.4mm) on the sides and back. For fades, start at the neck with no guard at all and work your way up through #1 and then #2. The taper lever becomes really important here since it lets you adjust how much of the blade comes out in tiny steps around 0.5mm each time. Those halfway points between guards actually make all the difference when blending different lengths together. According to some industry stats I came across recently, about 78% of those perfect blur fades involve setting the taper lever in 3 to 4 different positions to get that smooth gradient effect they're known for (from Styleseat's 2023 report).
Step-by-Step At-Home Haircutting Technique with Hair Clippers
Prep Work: Dry Hair, Detangling, Sectioning, and Tool Readiness
Start with clean, completely dry hair—wet strands clump, cause skipping, and distort length perception. Detangle thoroughly with a wide-tooth comb to eliminate knots that disrupt cutting paths. Divide hair into four functional sections:
- Crown-to-forehead (top)
- Left and right parietal ridges (sides)
-
Occipital bone (back)
Secure each with sectioning clips. Then verify tool readiness:
- Disinfect blades with 70% isopropyl alcohol
- Confirm battery charge ≥80% for cordless units
- Test guard attachments for secure, wobble-free locking
- Keep a fine-mist spray bottle of water nearby to tame stubborn flyaways
Execution: Neckline, Sideburns, Fade Transition, and Top Blending
Neckline & Sideburns:
Use no guard—or a #0.5 guard—for crisp definition. With head tilted slightly forward, place clippers flat against the nape and cut upward in controlled 1-inch strokes. For sideburns, align the bottom edge with the midpoint of the ear.
Fade Transition:
Begin at the hairline with the shortest guard (#0.5–#1), then progress upward using increasingly longer guards:
| Transition Zone | Guard Range | Motion Technique |
|---|---|---|
| Hardline | #0.5–#1 | Vertical upward strokes |
| Blend | #1.5–#2 | Scooping outward toward temples |
| Crown | #3–#4 | Gentle circular buffing to soften edges |
Top Blending:
Switch to #4–#6 for the crown and top. Work against hair growth direction using overlapping passes. Near the parietal ridges, reduce guard size incrementally (e.g., #5 – #4 – #3) to merge lengths smoothly. Finish by lightly “flicking” clippers outward at junctions—this lifts stray hairs and erases visible lines.
Beginner-Friendly Haircut Styles Achievable with Basic Hair Clippers
Even entry-level clippers can produce polished, repeatable results when matched to low-complexity styles. These three techniques minimize technique dependency while building confidence:
- Uniform Buzz Cut: Apply a single guard (#3–#5) across all sections. Eliminates blending and forgives minor hand movement—ideal for first-timers.
- Classic Crew Cut: Combine shorter sides/back (#2–#3) with a textured top (#4–#6). Minimal length contrast means only basic tapering is needed at the parietal ridge.
- Tapered Neckline: Use #1–#2 below the occipital bone, gradually shortening toward the hairline. This style conceals unevenness and reinforces foundational control.
Always start with dry hair and begin with longer guard settings—removing excess hair is irreversible. According to industry standards from the National Barber Association, these three styles account for 68% of at-home haircut attempts due to their low skill threshold and minimal tool requirements.